
Halloween Cake Pops are an easy dessert with so much festive fun for Halloween! They’re delicious balls of cake mixed with frosting & decorated however you like!
Jump to Recipe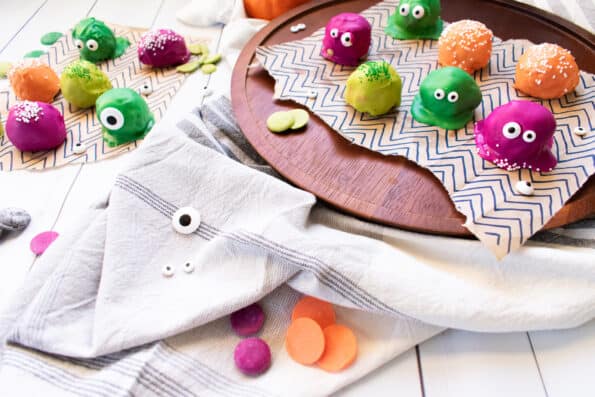
These easy Halloween Cake Pops are so much fun to make for Halloween! They are super impressive and yet, require very little effort. All they take is a boxed cake mix, some frosting, and colored white chocolate.
They’re perfect for a themed Halloween party or just a fun idea to get you in the holiday spirit.
These little spooky cake pops can be made with a lollipop stick and served as an actual pop, or you can make them like truffles and just serve them as cake balls. Either way, they are delicious.
HOW TO MAKE HALLOWEEN CAKE POPS
These Halloween cake pops are easily made with a cake box, but you can also customize it and make it your own with a homemade cake recipe. But, to keep things really simple so we can get to the decorating, I’ll use a box cake mix for these. Ain’t no shame in taking shortcuts!
I always thought that these were so complicated to make, but you’ll actually be blown away by how easy and approachable they are. Also, they can become sort of like a craft project with kids who would love to get creative and decorate these treats.
I tried this recipe because I had some extra cake leftover from my son’s birthday smash cake and – I cannot simply just toss leftover cake. These cake pops were actually so straightforward to make and didn’t even take that much time.
What’s so interesting about this recipe is that the cake (whichever kind you choose to make) gets baked as a sheet cake to make things simple. Then the cake crumbs get mixed together with some frosting (also of your choice here).
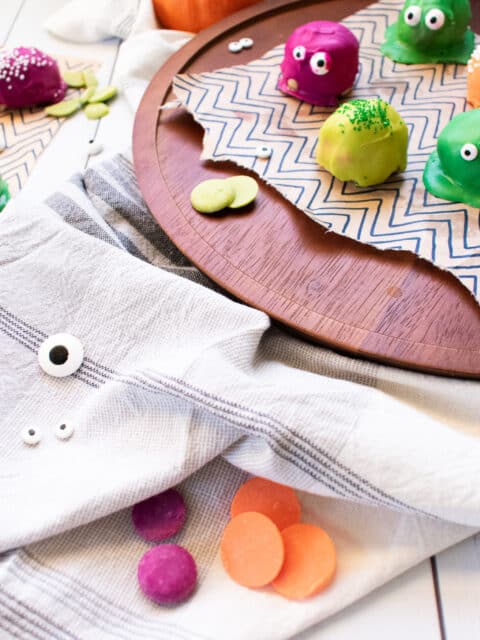
Once decorating starts, you just need different colored white chocolate wafers and sprinkles!
This is the most easily done with candy melts – such as orange candy melts, black candy melts, etc. don’t forget the candy eyes!
If you’re set on making them into lollipops, you’ll need the lollipop sticks of course, and either a Styrofoam block or a cardboard box to hold the pops while they harden.
Here’s how we make these adorable little Halloween cake pops:
Breakdown:
- Bake cake in a baking sheet and let it cool completely to room temperature
- Crumble cake into small pieces into a large bowl or stand mixer
- With the paddle attachment, mix in the frosting until everything is smooth
- Take the moist cake mixture and roll out the cake balls into 1-inch balls. You can use a cookie scoop to do this
- Freeze for at least one hour
- Take out only the balls you want to work with at a time and work in batches. The balls need to be very cold while you’re working with the hot chocolate.
- Melt candy melts using a double boiler or a heatproof bowl in the microwave.
- If you’re using lollipop sticks, attach them now
- Dunk the pops or pour the chocolate over the top of them
- Decorate with candy eyes, sprinkles, drizzles of chocolate, etc!
Decorating tips:
- Use a small bowl to melt specific colors as you need them and work in batches. Such as, make all the green cake pops, and then all black. This way you’re not wasting chocolate and it will also ensure you’re working efficiently since the cake pops must stay cold while you’re decorating them.
- When you’re ready to go onto the next color, simply pull the next batch out from the freezer.
- Use a plastic bag or pastry bag for more detailed work or drizzles.
- Very important to not get any water in your chocolate or the chocolate will seize up and become unworkable.
- After you’ve decorated all your cake pops, add them back to the refrigerator until ready to eat.
DECORATING IDEAS:
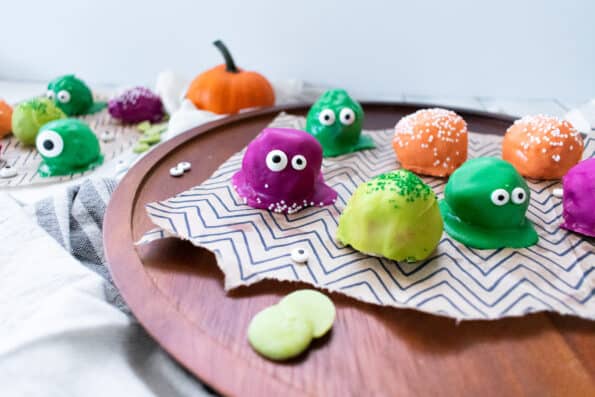
Pumpkins – use orange candy melts, add eyes using eye sprinkles, or black candy melts, and a mouth. Details like eyes are easiest to do with a toothpick!
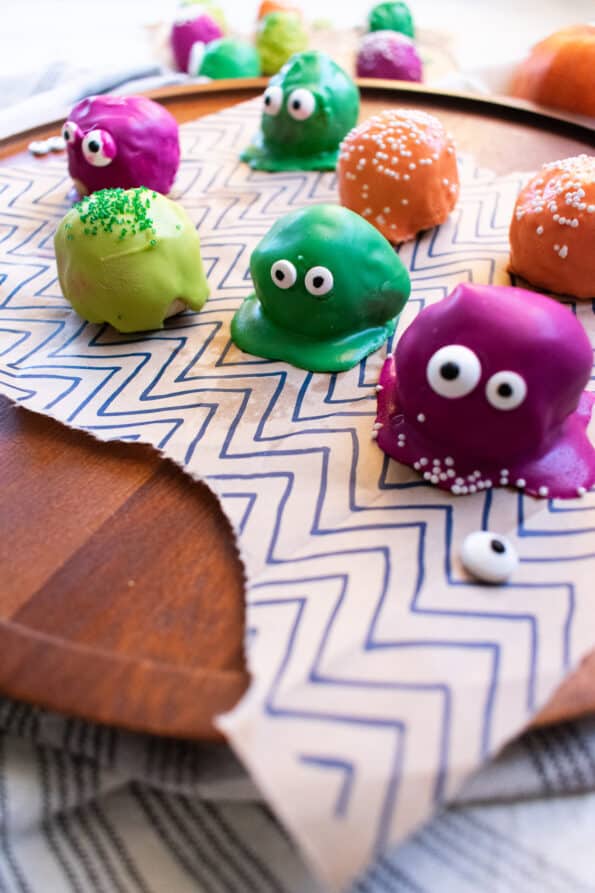
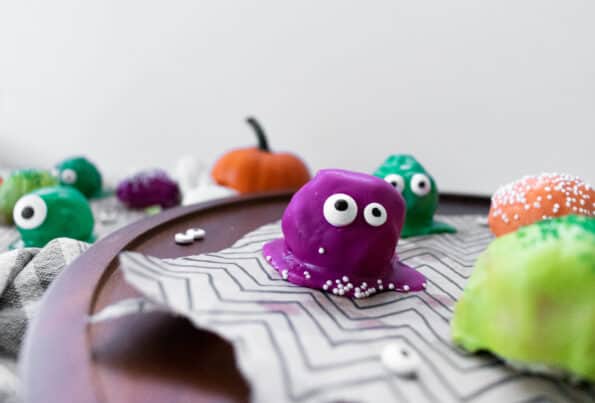
Monsters – simply coat with any color (orange, purple, green, black) and just add eyes!
Frankenstein – use green candy melts, add eyes (sprinkles or black candy melts), and add hair & a smile with black candy melts. For the hair you can add some melted chocolate into the tip of a plastic bag. Cut a very small piece off the tip of the bag.
Skeletons & ghosts – coat with white chocolate and use black candy melts to add in a spooky face!
Mummies – coat with white chocolate and once that dries, drizzle white chocolate all over to make the cake pops looked wrapped! Then add some eyes.
Halloween themed – use any color (green, black, white, orange, purple) and add fun sprinkles, drizzles of chocolate, etc!
Other Easy Recipes for Halloween you shouldn’t miss:
Cake Pops Flavor Variations:
- Spice cake + vanilla frosting
- Chocolate cake + vanilla frosting
- Vanilla cake + spice frosting
- Pumpkin frosting + cream cheese frosting
How to store cake pops?
Cake pops are best served cold, so keep them refrigerated until you’re ready to eat them. You can keep them in an airtight container with parchment paper. They will keep quite long – but I doubt you’ll have any leftover before that even becomes a concern!
AS ALWAYS, IF YOU MAKE THIS – PLEASE LEAVE A COMMENT BELOW!
Halloween Cake Pops
Ingredients
- 1 box vanilla or spice cake mix
- Ingredients called for on cake mix box
- Optional: cinnamon or pumpkin pie spice
- 1 16 oz jar of vanilla frosting
- 1 ½ cup Chocolate candy melts various colors – your choice
- Vegetable or canola oil
- Sprinkles to decorate optional
Instructions
BAKE THE CAKE:
-
Preheat the oven to 350. Mix the cake mix according to package directions. For a fall variation, you can mix in 1 tsp of cinnamon or pumpkin pie spice into the batter.
-
Spread the cake batter out onto a baking sheet and smooth with a spatula. Bake for 20 minutes. When the cake is finished, let it cake cool completely.
MAKE THE CAKE BALLS:
-
Once it’s at room temperature, crumble the whole cake by hand into a large bowl or stand mixer bowl. Break up all the large crumbles into small pieces.
-
With the mixer speed on low, add in all the frosting one spoonful at a time. The consistency will start to become wet and coarse. If the mixture is dry, add in more frosting, but be careful to not let it get too moist and become a paste!
-
Roll out all of the cake pops into about a 1-inch ball using your hands. Set aside into a container. Once all the balls are rolled, place the container into the freezer for a minimum of one hour.
DECORATE THE CAKE BALLS:
-
While frosting the cake balls, they need to remain very cold. Only take out a few balls at a time to work with and keep the rest in the freezer. While working in batches, pick the color you’re going to frost with first if you’re using multiple different colored chocolate.
-
In a small microwaveable bowl, pour in ¼ cup of the chocolate melts to coat 4 pops or ½ cup to coat 8 pops. Heat in the microwave for 2 minutes, but stopping to stir every 30 seconds.
-
Pour in 1 tsp of canola or vegetable oil if you melted ¼ cup of chocolate melts, 2 tsp if you used ½ cup, and so on. Stir well into the chocolate. This will make your chocolate very runny and will easily coat the cake balls. It also adds shine to the color.
-
At this point, you can decide to either keep them as cake balls and simply spoon the melted chocolate over the balls or you can attach lollipop sticks.
-
LOLLIPOP STICKS: To turn the cake balls into cake pops, first you’ll take your lollipop stick and dab the end in the melted chocolate. This will help keep it in place. Then, stick it about halfway through your cake ball. You can use a Styrofoam box or simply an upside-down cardboard box with holes punched out with a pencil to hold the pops as you work. Hold the lollipop stick while you dunk the balls in the chocolate. Roll around until it’s fully coated then let the excess drip off. Place in your Styrofoam or cardboard box to dry.
-
CAKE BALLS: Place the cake balls that you’re working with on parchment paper. Take a spoon and slowly pour the chocolate over the top – letting the chocolate work its way all the way down. If the chocolate isn’t running down the sides quickly, you can add a bit more oil to help it.
-
DECORATING: If you’re adding sprinkles or eyes, do it while the cake balls are still wet. Otherwise, you’ll have to dab the back of the eye sprinkles with chocolate or drizzle chocolate over top to give the sprinkles something to stick to. This is the fun part! Add drizzles, sprinkles, eyes, hair, and teeth!
Recipe Notes
Keep the cake pops cold until you're ready to eat them!
DID YOU MAKE THIS RECIPE?
If you make this recipe or any others on Bite your Cravings, please leave a comment and a rating below! I’d also love to see and feature your delicious creations on my Instagram page, so post your recipes on social media and tag them with #biteyourcravings!

 Yum
Yum
Yum
Yum
Leave a Reply